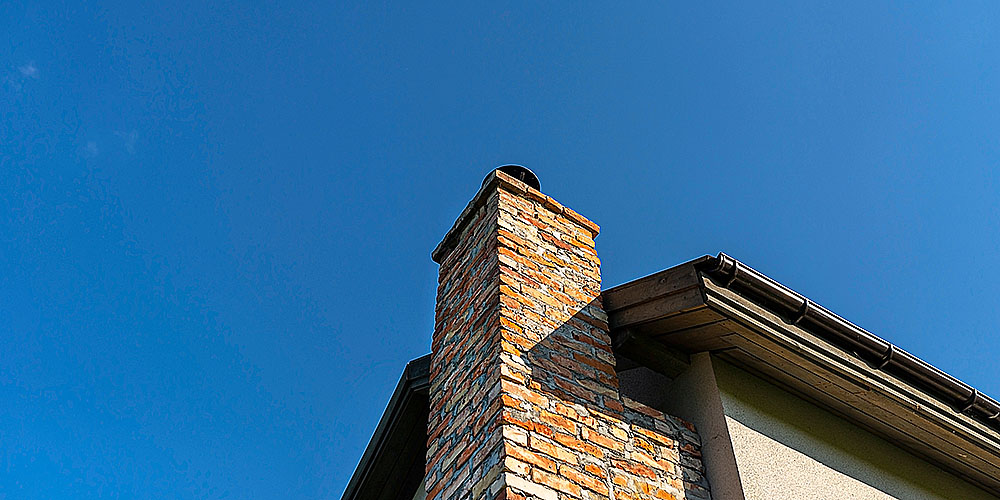
The high-quality variants of stainless steel chimney liners can last for 15 or more years. Although clay tile and cast-in-place liners can last 50 years, stainless steel liners are easier to install. Keep in mind that the low-quality version of these liners won’t survive more than 5 years. If your chimney doesn’t have a liner, your chimney will deteriorate quickly and will require repairs frequently. use the steps below to learn how to install a flexible chimney flue liner or get in touch with a chimney contractor for professional installation.
Steps For Chimney Liner Installation
Take Measurements
You should check your chimney and take measurements. But before measurements, make sure that the chimney is suitable for a flue liner. Use a torch to inspect the chimney from the inside and look for any bends that could interfere with the liner installation.
Then, determine the diameter of the stainless steel chimney liner you should buy. You can check the owner’s manual or research online. You can also take a measuring tape and take measurements yourself.
After the diameter, determine the length of the liner. Measure from the chimney crown to the area just above the fireplace and then add 12 inches to the length so you have enough liner if the measurement was incorrect.
Purchase a Stainless Steel Liner
There are different qualities of stainless steel chimney liners. You can choose any depending on your budget. All liners come with a kit that has the necessary pieces you need for the installation process like the connector, top plate, and rain cap.
Clean The Chimney
If you’re installing a liner in an existing chimney that was in use for some time or years, you must clean it before proceeding with the liner installation. Ignoring this will result in too much dust during installation and improper installation of the liner.
If the liner isn’t installed properly, you may be able to reap the benefits of the liner which you installed after going through this much trouble. Therefore, ignore cleaning your chimney. If the chimney hasn’t been cleaned for a year, consider a professional cleanup by a chimney cleaning service Ellicott City.
Straighten The Liner
After cleaning the chimney and buying the stainless steel liner, you should straighten the liner. This is because flexible chimney liners are packed in rolled form. So, remove the plastic on the liner and straighten it. Ensure that you straighten the liner on a soft surface like grass otherwise, this process can puncture the liner. A punctured liner can deteriorate the liner and chimney quickly and lead to problems like condensation, leaking, and reduced heating efficiency. There can be different kinds of connectors, we will consider that the kit came with a two-part tee connection.
Fix The Connectors To The Liner
If your liner kit came with a two-part tee connection, you should know that the part with the cut out on the side is the vertical part and the other part is the horizontal part of the connector. Insert the liner into the female end and tighten the clamps.
Insert The Liner Into The Chimney
This is a two-person job. One person should climb up the roof with a rope, the liner, and other necessary tools like gloves and the other person should stand at the opening of the fireplace. The second person should wear goggles and a mask for protection against dust and debris. Moreover, gloves should be worn because the ends of the liner and the connectors can be sharp and can cause cuts on bare hands.
Throw a rope down the chimney so that one end of the rope is with you and the other end is accessible for the second person.
Insert the liner from the end where you fixed the connector. Be careful in this process and avoid unnecessary friction of the liner with the chimney walls. Slowly push the liner down the chimney. The person on the other end can use the rope to keep the descent of the liner smooth. From above, you should twist the chimney if it feels caught somewhere. Keep the liner straight so it doesn’t bend during the process.
If the liner gets stuck, check where it’s stuck. If it’s near you at the top, check it with a torch and try to remove the obstruction. If it’s near the bottom, the second person should use the hanging rope and other methods to remove the obstruction.
When the liner reaches the correct height, the other person near the fireplace should connect the tee. The person should take the horizontal part of the tee and insert it with the hose clamp end first. After connecting both the connector, look for a worm screw. Use a flathead screwdriver to tighter it and make sure that the lips of the vertical part of the tee connector must be inside the horizontal part.
After this step, you should proceed to connect the tee connection and the stove pipe.
Connect The Top Plate To The Liner And Chimney
When you have secured the chimney liner from the fireplace end, climb up the roof again to install the chimney liner top plate. The plate seals the flue and prevents rain and debris from entering your chimney.
Use a caulk gun and weather-resistant silicone on the clay flue for the top plate. Introduce the top plate into the liner and place the plate on the clay flue. Use the locking bolts on the sides of the top plate to fix it on the clay tile.
Make sure to avoid overtightening the screws because overtightened screws can crack the clay flue.
Remove Excess Flue Liners And Connect It To Top Plate To The Flue
You may have excess flue rising from the top collar. If the flue is more than a few inches from the top plate, the excess part of the flue should be removed so you can fix the flue with the top plate and then place a cap on it. You can use a grinder with a cut-off wheel, a hacksaw, or a Sawzall for cutting the flue.
Tighten The Top Plate Screws To The Liner
The top plate and the liner should be tightened because the top plate holds the weight of the liner hanging down. Locate the worm screw on the top plate’s collar. You will need to tighten it with a flathead screwdriver.
Install The Chimney Rain Cap
A rain cap prevents rain and debris from entering the liner and the chimney. It comes with the flue liner kit. The diameter of the rain cap will be bigger than the collar of the top plate. Insert the rain cap on the top plate.
The rain cap should have a hose clamp and it will fit onto the flange on the top plate’s collar. Tighten the clamp on the rain cap using a flathead screwdriver.
Conclusion
Installing a stainless steel chimney flue liner is DIY-friendly. Other types of chimney liners require a professional for installation. However, they last longer than stainless steel flue liners. If you want to hire chimney relining services Columbia MD, you can also consider clay tile and cast-in-place flue liners due to their longevity. Discuss it with the contractor and if the cost of these liners aligns with your budget, you can proceed.


